A handwritten invoice with the total typed in by hand is one fat-finger away from billing a client the wrong amount. An Excel invoice with formulas does the arithmetic itself — enter the quantities and prices, and the line totals, subtotal, tax, and grand total calculate and stay correct every time. This builds one from a blank sheet: the layout, the formulas that do the math, the auto-numbering that keeps your records straight, and the touches that make it safe to reuse for every client and every month.
Lay out the invoice
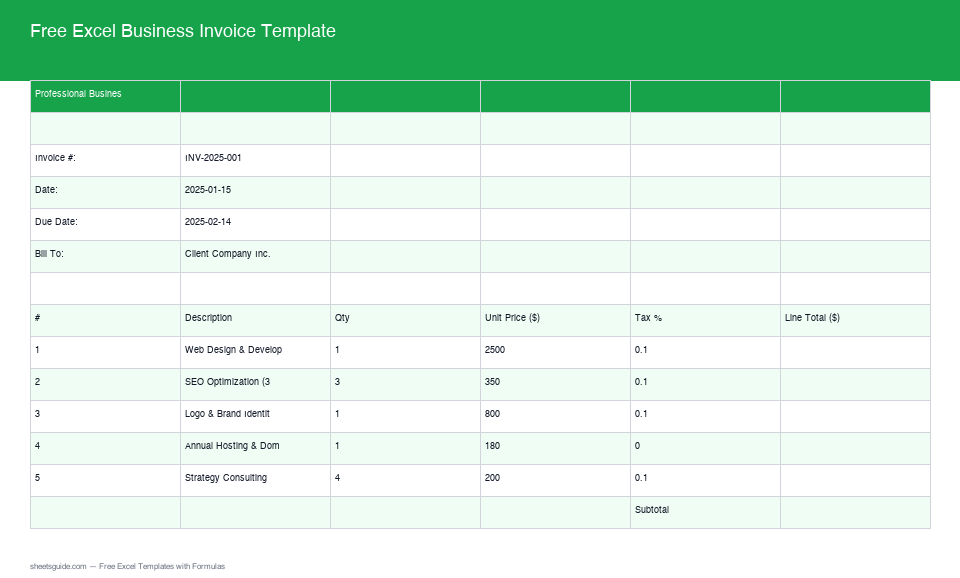
An invoice has three zones: a header with your details and the client’s, a table of line items in the middle, and a totals block at the bottom right. Get the structure right first and the formulas drop in cleanly afterward. The header is plain text you fill once — business name, address, client name, invoice date, and an invoice number — and rarely touch again. The line-item table in the middle is the part that does the real work, so give it clear, single-purpose columns.
| A | B | C | D | |
|---|---|---|---|---|
| 10 | Description | Qty | Unit price | Line total |
| 11 | Design work | 10 | 90 | 900 |
| 12 | Hosting | 12 | 15 | 180 |
Keep description, quantity, and unit price as the cells you type into; line total is calculated, never typed. That single rule — inputs on the left, results on the right — is what makes the rest of the invoice trustworthy, because there’s exactly one place a number can be wrong (the input) and the math is never in doubt. Leave a dozen empty rows in the table so a long invoice has room without reformatting, and put the totals block directly below it.
Line totals and subtotal
The line total is quantity times unit price, and it should fill itself the moment you type a quantity. In D11:
=B11*C11Copy it down the table and every row calculates its own total. The problem with copying it down the empty rows is a column of zeros where there’s no item yet, which looks broken on a printed invoice. Guard it with IF so blank rows stay blank until you fill them:
=IF(B11="", "", B11*C11)Now an empty row shows nothing, and a filled one shows its total instantly. The subtotal sums the whole line-total column. Because SUM ignores the blank cells, you write it once for the entire table range and never adjust it as the invoice grows or shrinks:
=SUM(D11:D40)This is the heart of an automated invoice. You never add anything by hand, so there’s no arithmetic to fumble and no stale total left over from the figures you started with last month. Type the line items, and the subtotal is simply always right.
A small refinement makes it look finished: format the line-total and subtotal cells as currency from the start (Format → Number → Currency), so every figure reads as $900.00 rather than 900. Currency formatting rounds the display to cents while keeping full precision underneath, so your totals never show a stray third decimal place from a tax calculation. It’s one setup step that separates an invoice you’d send a client from one that still looks like a working spreadsheet.
Tax and the grand total
Put your tax rate in its own labeled cell rather than burying it inside a formula — say 0.1 for 10% in cell D42. Then the tax line multiplies the subtotal by that cell, and the grand total adds them together:
=D41*D42=D41+D43Keeping the rate in a visible cell means you change tax in one place when a rate changes, and anyone reading the invoice — including a client who queries it — can see exactly how the total was reached. Hard-coding *1.1 into the grand total hides the assumption and turns a rate change into a hunt through every formula. Reference the rate cell instead, and the bottom of the invoice stays honest and easy to audit. The same discipline applies to anything that affects the total: give it a labeled cell, then point a formula at it, so the invoice explains its own math.
Discounts and multiple tax rates
Real invoices have exceptions, and formulas handle them without breaking the clean structure. A discount is just another labeled cell you subtract before tax. For a percentage discount on the subtotal:
=D41*(1-D44)If different line items carry different tax rates — parts taxed, labor exempt — turn the rate into a per-row choice. Add a tax-rate column and make it a dropdown with data validation so each line picks a valid rate from a list instead of a typed number. Then calculate tax per line and sum it at the bottom. The dropdown removes the single most common invoicing error there is — a mistyped rate that quietly under- or over-charges and isn’t caught until a client or an accountant notices. For “no tax on this category, tax on that one,” an IF on the category column sets the rate automatically, so the person filling the invoice doesn’t have to remember the rule at all.
When a total needs to span only some lines — a tax base of just the taxable items, say — SUMIFS sums only the rows matching a condition. It’s the same conditional-sum idea as the per-line tax, lifted up to the totals block, and it keeps the math correct even when one invoice mixes taxable and exempt work on the same page.
Auto invoice numbers and dates
Two small automations save real friction over a year of invoicing. The date can fill itself — though for a fixed record you usually want to type the issue date once rather than have it change every time the file opens, so use a static date for the invoice and reserve =TODAY() for a “printed on” footer. The due date, on the other hand, is worth calculating from the issue date so your terms are always consistent:
=B5+30With the issue date in B5, this sets net-30 terms automatically; change the 30 to match your terms. Invoice numbers matter more than they look — duplicated or skipped numbers cause real accounting headaches. Keep them in a consistent format like INV-2026-014 and increment by hand per invoice, or, if you track all invoices in one workbook, derive the next number from a count of existing rows so it can’t collide. Consistent numbering is what lets you find an invoice six months later when a client asks which one covered which work.
If you send more than a handful of invoices, keep a one-row-per-invoice log on a second tab — number, client, date, amount, paid yes/no. It takes seconds per invoice and turns “did they pay invoice 14?” into a glance instead of a dig through saved files. That log is also the seed of a simple revenue view later: sum the paid invoices by month with the same SUM logic the invoice itself uses, and your billing reports build themselves.
Lock the formulas, leave the inputs open
An invoice you reuse is an invoice someone will eventually click into the wrong cell of. Protect the formula cells so a stray edit can’t break the math, while leaving the input cells — description, quantity, price, rate — open for typing.
- Select the input cells and, under Format Cells → Protection, uncheck “Locked.”
- Protect the sheet (Review → Protect Sheet) so everything else becomes read-only.
- Now only the input cells accept edits; every formula is safe from a stray keystroke.
This is the difference between a template that survives a year of use and one that quietly breaks the third time someone tabs into the wrong cell. Pair it with a touch of formatting to make overdue invoices obvious — a conditional formatting rule that turns the due date red once it passes does the chasing for you. Microsoft’s own guide to protecting a worksheet covers the locking options in detail.
Make it reusable
The last step turns a one-off into a template you’ll use for years. Clear the input cells, leave the formulas and layout in place, and save a master copy you duplicate for each new invoice — File → Make a copy, or save as an Excel template (.xltx) so a fresh blank opens every time. Keep a simple log of which invoices have been sent and paid, and the same SUM-and-rate logic that totals one invoice rolls up your monthly billing without extra work. Every piece of it traces back to the rule from the first formula: type the facts, let the sheet do the math, and never write a total by hand again. Set it up once, and every invoice after the first becomes a two-minute job — type the line items into a sheet that already knows how to total, tax, and number them, then send it.