
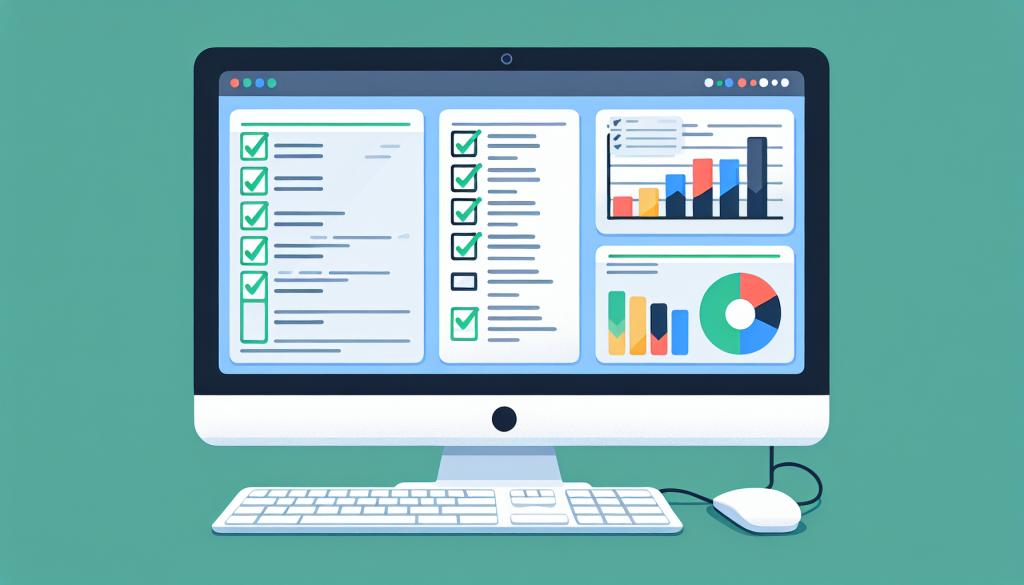
A plain list of tasks is static — you read it, you forget where you were. A checklist is something you interact with: tick an item and it’s visibly done, watch a progress number climb, see at a glance what’s left. Google Sheets builds exactly that with checkboxes and a little conditional formatting — no add-on, no script. This walks through adding real checkboxes, striking through completed items automatically, showing live progress, and turning it into a shared, reusable checklist your whole team can run.
Add real checkboxes
Sheets has genuine checkboxes — clickable boxes, not typed “x” marks — and they store a simple TRUE/FALSE you can build on.
- List your tasks down a column (say column A).
- Select the cells beside them (column B), then choose Insert → Checkbox.
- Each cell now holds a tickable box — checked reads as TRUE, unchecked as FALSE.
That TRUE/FALSE is the key: because a checkbox is really a value, formulas and formatting rules can react to it. Tick the box and the cell becomes TRUE, and everything you build next keys off that. This is what separates a real interactive checklist from a list where you type an “x” — the state is data the sheet can compute with, not just a character you eyeball. It’s the same checkbox that powers a task tracker, here put to a simpler, more satisfying use. One handy detail: you can give checkboxes custom values (Data validation → Checkbox → “Use custom cell values”) so a ticked box stores something other than TRUE — useful if you’d rather it hold “Done” or a status word that other formulas read. For most checklists the default TRUE/FALSE is exactly right, but it’s good to know the box can carry whatever value your formulas find easiest to work with.
Strike through what’s done
The most satisfying touch: when you tick a task, its text strikes through and dims, so finished work visibly recedes and unfinished work stands out. Conditional formatting does it.
Custom formula: =$B2=TRUE → strikethrough + gray textSelect your task text (column A), open Format → Conditional formatting → “Custom formula is,” enter =$B2=TRUE, and set the style to strikethrough with a gray font. Now ticking the box in B strikes through the task in A automatically. The $B2 reference — column locked, row relative — is what makes each row check its own checkbox. It’s a small bit of formatting with an outsized effect: a checklist that visibly crosses things off feels alive in a way a static list never does, and it draws your eye straight to what’s still open. Google’s conditional formatting guide covers the custom-formula option in full. You can layer a second rule too — a green fill on checked rows, or a red one on a “blocked” column — so the checklist communicates status as well as completion, all from the same TRUE/FALSE the checkbox produces.
Show live progress
A checklist is more motivating when you can see how far along you are. A single formula turns the checkboxes into a completion percentage that updates as you tick.
=COUNTIF(B2:B20, TRUE) / COUNTA(A2:A20) & " done"
=COUNTIF(B2:B20, TRUE) / COUNTA(A2:A20)         'format as percent
COUNTIF counts the ticked boxes, COUNTA counts the total tasks, and the division gives your completion rate — format it as a percentage and it reads “73%.” Put that at the top of the checklist and it climbs in real time as you check items off. Seeing “18 of 25 done” or a rising percentage is a small motivator that genuinely helps people finish, which is the whole point of making a checklist interactive rather than static. The same counting trick answers other questions cheaply: =COUNTA(A2:A20)-COUNTIF(B2:B20,TRUE) shows how many remain, and a quick =IF(COUNTIF(B2:B20,TRUE)=COUNTA(A2:A20),"All done!","") can flash a completion message when the last box is ticked. These small touches cost one formula each and make the checklist feel responsive — it reacts to your progress instead of just recording it.
Add a visual progress bar
Take the progress one step further with an in-cell bar, using the SPARKLINE function to draw a bar chart of your completion ratio.
=SPARKLINE(COUNTIF(B2:B20,TRUE)/COUNTA(A2:A20), {"charttype","bar";"max",1})This draws a horizontal bar that fills as you complete tasks — "max",1 sets the full-width point to 100%, so the bar grows from empty to full across the checklist. It’s the same SPARKLINE trick used for trends, here giving a checklist a visual progress meter in a single cell. Pair the number (“73%”) with the bar and the checklist reads at a glance: how much is done, shown both ways. It’s the kind of polish that turns a functional checklist into one people actually enjoy using. You can even color the bar conditionally — pass a "color" option that’s red while under, say, 50% and green above — so the bar’s hue reinforces how close you are to done. None of this is necessary for the checklist to work, but each touch makes finishing feel a little more rewarding, and a checklist people enjoy ticking is one they actually keep up.
Checklists worth building
Once you can build one in a few minutes, checklists become worth making for anything you do more than once. A few that suit Sheets especially well:
- ✓ Employee onboarding — every step a new hire and their manager tick off together
- ✓ A launch or event runbook — the sequence nobody can afford to skip a step in
- ✓ Recurring routines — a weekly close, a monthly report prep, a pre-flight check
- ✓ Shared packing or shopping lists — everyone adds and ticks from their phone
The common thread is repetition plus more than one person: a checklist shines when the same steps recur and several people need to see the same live status. A solo one-off rarely justifies the setup, but anything you’ll run again, or run with others, pays back the few minutes immediately — and a shared checklist means nobody asks “did someone do X?” because the answer is right there, ticked or not.
Make it shared and reusable
The last step turns a one-off checklist into a tool. Two moves do it.
- Build a clean master, then File → Make a copy for each use so the template stays blank.
- Share the copy with the team (edit access), and they tick items off from any device.
- Group long lists into sections, with a per-section progress formula if useful.
First, make it reusable: build a clean master and File → Make a copy for each new use — a packing list, an onboarding checklist, a launch runbook — so the template stays blank and ready. Second, share it: because it’s in Google Sheets, a checklist can be shared with the team and ticked off by anyone, from any device, updating live — one person checks an item on their phone and everyone sees it done. Group long checklists into sections with subheadings, and consider a per-section progress formula so each phase shows its own completion. A shared, reusable, self-tracking checklist is a genuinely useful thing to build, and it costs nothing but the few minutes to set up the checkboxes and two formatting rules. Tick, strike, watch the bar fill — and reuse it forever.